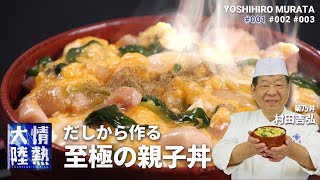
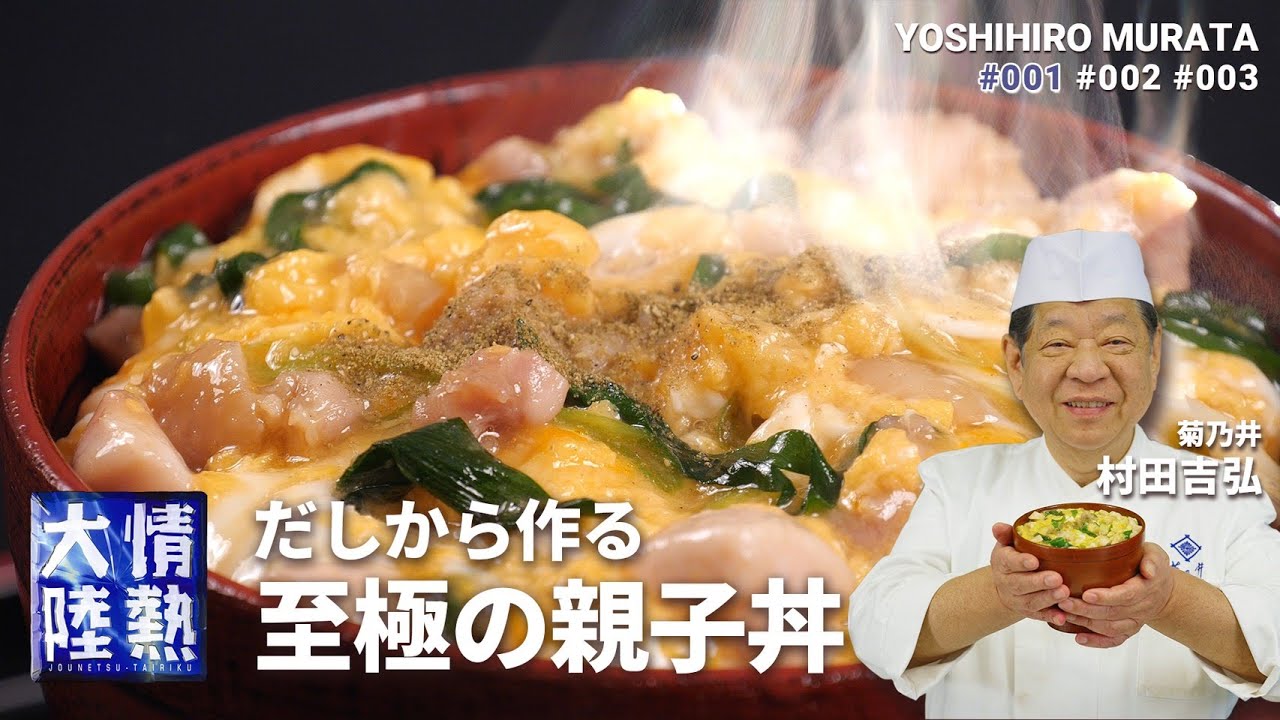
Authentic Oyakodon Made from Scratch Dashi (Kikunoi, Yoshihiro Murata)
Yoshihiro Murata of Kikunoi carefully explains this authentic oyakodon, starting from how to draw ichiban dashi from kombu and katsuobushi. The kombu is held at 60°C for 1 hour, then the temperature is raised to 85°C before adding katsuobushi, and straining through a paper towel without squeezing brings out a clear umami. The dashi, mirin, and soy sauce are combined in a 7:1:1 ratio, and the chicken thigh is cut finely and cooked slowly to draw out its sweetness. The secret is adding a small amount of cornstarch slurry to thicken the mixture, which gives the egg a fluffy finish. Kujo negi is used, and the dish is finished with sansho pepper to taste.

INGREDIENTS
Ingredients
INSTRUCTIONS
Instructions
Put water and kombu in a pot. In the Kansai region, the kombu is placed directly into the water and heated.
0:27~2 minOnce it reaches 60°C, hold that temperature for 1 hour. As a guide, 60°C is about the temperature at which you cannot keep your finger in for a second. The viscous polysaccharides (slime) around the kombu coat the proteins and hinder the extraction of glutamic acid, so 60°C for 1 hour is optimal.
0:40~60 minAfter 1 hour, remove the kombu and raise the temperature to 85°C. Once it reaches 85°C, turn off the heat and add the katsuobushi.
1:07~5 minStrain about 10 seconds after adding the katsuobushi. The inosinic acid umami comes out quickly, so do not let it sit long. Squeezing at this point clouds the dashi, so do not squeeze; strain through a paper towel set in a strainer. The ichiban dashi is now complete.
1:28~2 minCut the chicken thigh. Cut it as finely as possible, small enough to fit in the mouth together with the rice and egg.
2:06~3 minCut the kujo negi. The white part takes longer to cook, so cut it finely; the green part wilts easily, so cut it slightly larger.
2:41~2 minCombine the warishita: 7 parts dashi, 1 part mirin, 1 part soy sauce. Since this is Kansai style, usukuchi soy sauce is used. Every donburi dish can be made with this ratio.
3:06~2 minPour the warishita into a small frying pan and turn on the heat. Having a small frying pan makes this easiest.
3:51~2 minAdd the chicken and cook it slowly. The chicken releases sweetness and fat. The surface turning white does not mean it is cooked through, so tasting it is the easiest way to check.
4:12~5 minThe secret technique: add a small amount of potato starch dissolved in water. Bringing it to a boil once makes it silky, giving it a thickness slightly thinner than an ankake sauce. This is what makes the egg turn out fluffy.
4:38~2 minPut the rice in a donburi bowl. Add the green and white parts of the negi to the frying pan as you like. The negi wilts quickly, so move on to the next step right after adding it.
5:13~1 minWithout beating the eggs too much, add them all at once. It is often said to add them in several batches, but all at once is fine. Once they begin to set, stir a little at a time, and while they are still runny, spoon them over the rice to finish. Sprinkle with sansho pepper to taste.
5:35~2 min
REVIEWS
Reviews
Login required to post reviews
Login